Healing strained muscles takes a lot of time and patience, combined with a significant amount of effort. Here is a tried and true way to heal (relatively) quickly and get back on your mat.
Step 1: Rest
Take some time off of your physical practice. Do as little as possible that aggravates your muscle strain. Rule of thumb, if it hurts even just a little bit, don’t do it. Use this time to go deeper into your meditation practice, or target some core work rather than forward bends. Resting does not mean you can’t practice at all; just be mindful of your injury and try to embrace the opportunity to grow in new ways.
Step 2: Rest More
I say this because I think it is usually our tendency as yogis to want to jump in and fix it right away. The best way to “fix” a muscle strain is to give it some time to heal before pushing it to stretch again. A strained muscle has either been pulled or torn. It is often inflamed, and needs time for the inflammation to go down before it is safe to stretch it again.
Step 3: Engage the Muscle
In my training in the Anusara yoga method we used the terminology “hug the muscle to the bone.” In order for the muscle to become safe to stretch again, it needs to be engaged, and the best way to engage it is to give it a hug. Eventually, we can move toward using a strap or other means of hugging the muscle, but in early stages I recommend using your own hand, which allows you to feel more completely what is happening in the injured area and keeps you safer.
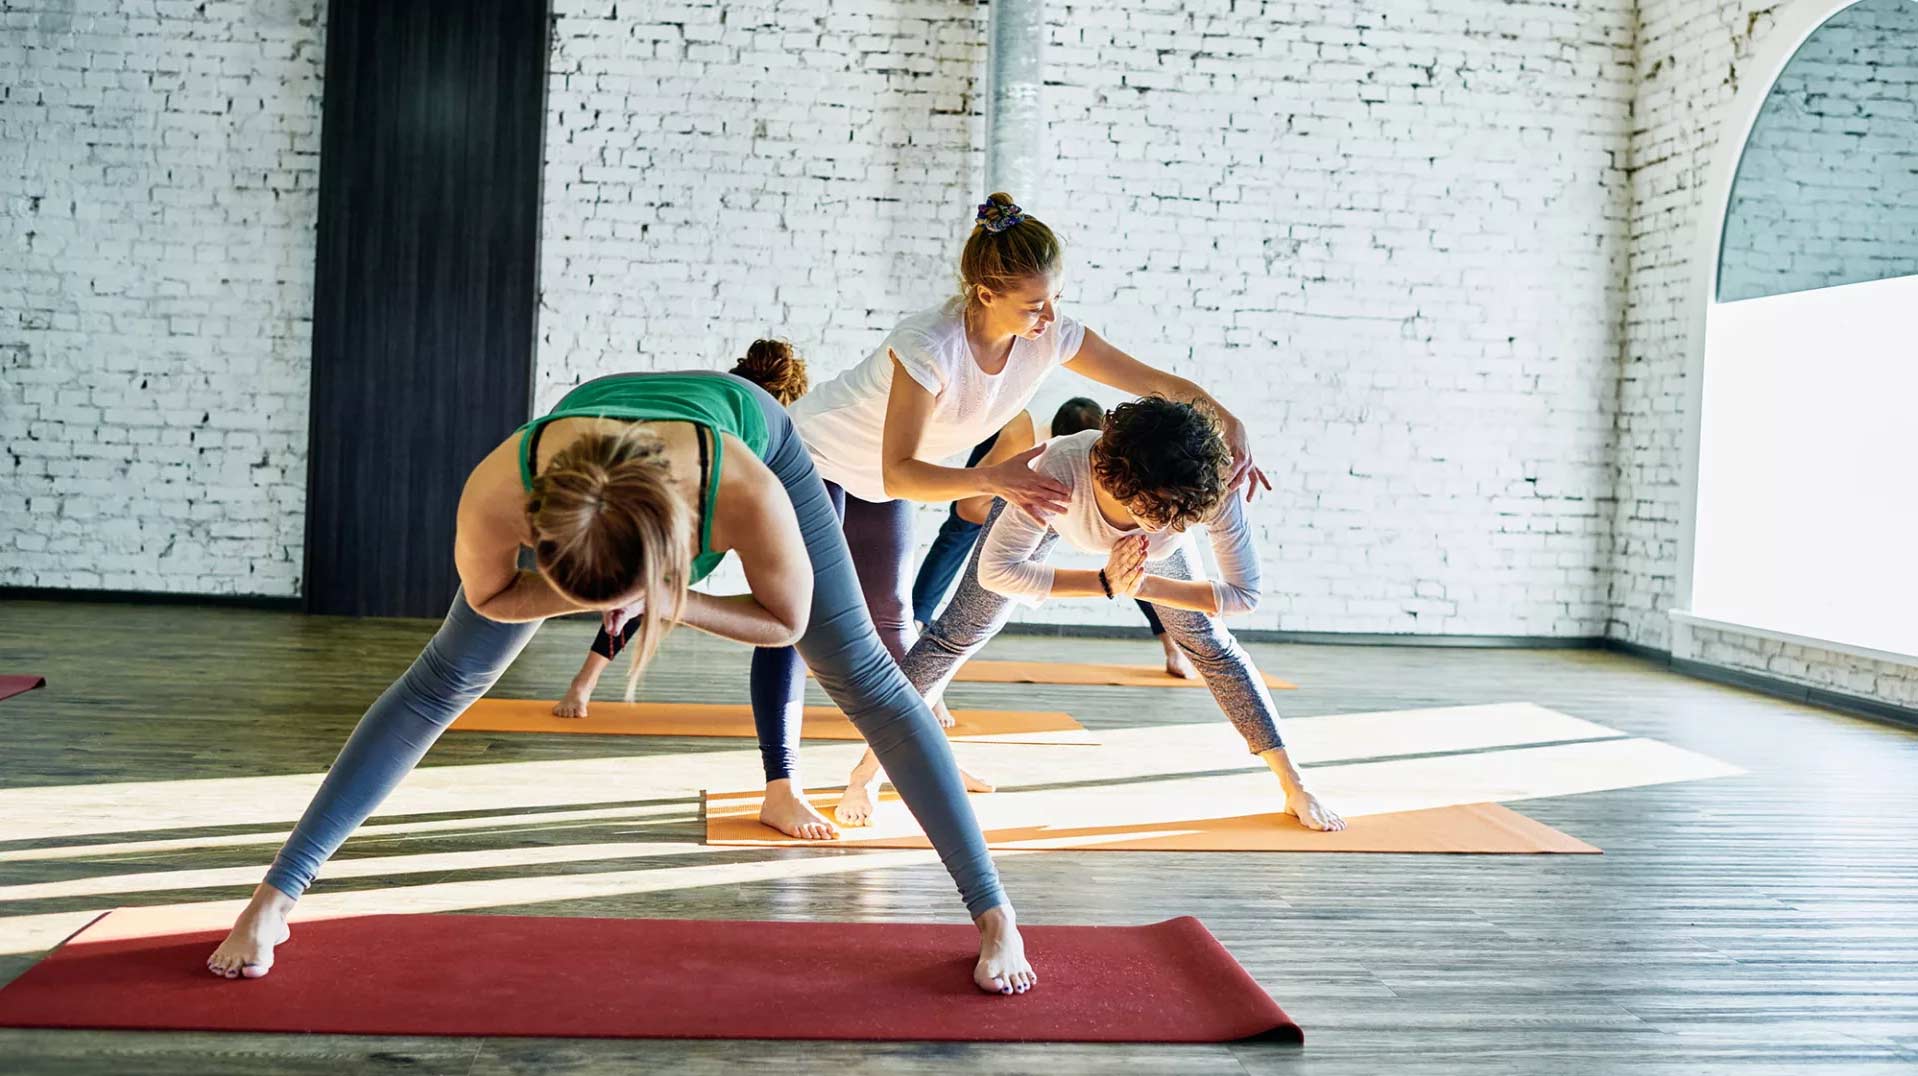
Start with a pose that does not demand full extension (aka: stretch) of the injured muscle. I recommend a standing pose such as parsvakonasa (extended side angle).
- Start with a shorter stance than you typically would, injured leg in front
- Place hand on belly of injured muscle “give it a hug” by drawing the muscle in toward the femur. If the injury site is higher up at the insertion point of your hamstring, you can slide your hand up to support this area instead
- Drag your front heel back toward your back foot to actively engage the muscle
- Keep all engagement as you move slowly into and out of the pose
- Maintain balance by doing the same work on the second side
Step 4: Modified Stretches
At this stage, you are ready to start working on modified versions of poses that would involve hamstring stretching. Always move slowly and mindfully when coming into an out of all poses. See list below for examples of modifications:
- Do uttanasana (forward fold) with bent knees, maintaining energy of dragging heels back.
- Stay very high in trikonasana (triangle pose) with hand on a block or chair.
- Do supta padangusthasana (lying on back with one leg extended toward ceiling) using a slightly bent knee and both hands or a block behind the thigh; draw hands or block into the muscle as leg presses away.
- Take plenty of time in these initial stages and move slowly with full integration in and out of all poses. It will take time to build the strength in the muscle for it to be safe to stretch it fully again.
Step 5: More Gradual Stretching
Gradually work toward a slight straightening of the leg, toward greater hamstring extension, without allowing the muscle to disengage. Continue a) hugging the muscle, and b) dragging heel back against resistance as you move toward full extension. It is sometimes helpful to have a practice partner or private instructor put their hand behind your heel so you can feel yourself pushing into his/her hand. You can also use the wall for poses such as uttanasana or a block behind your heel for poses such as trikonasana.
When you feel you are ready to go for full extension, always warm-up your muscles fully, move slowly, and use your breath and your intuition to guide you as you deepen your physical posture. Back off immediately if you feel any sensation that reminds you of pain. Remember to trust the process, and that this experience could be your greatest teacher.
